Transferring topology to the other fingers:
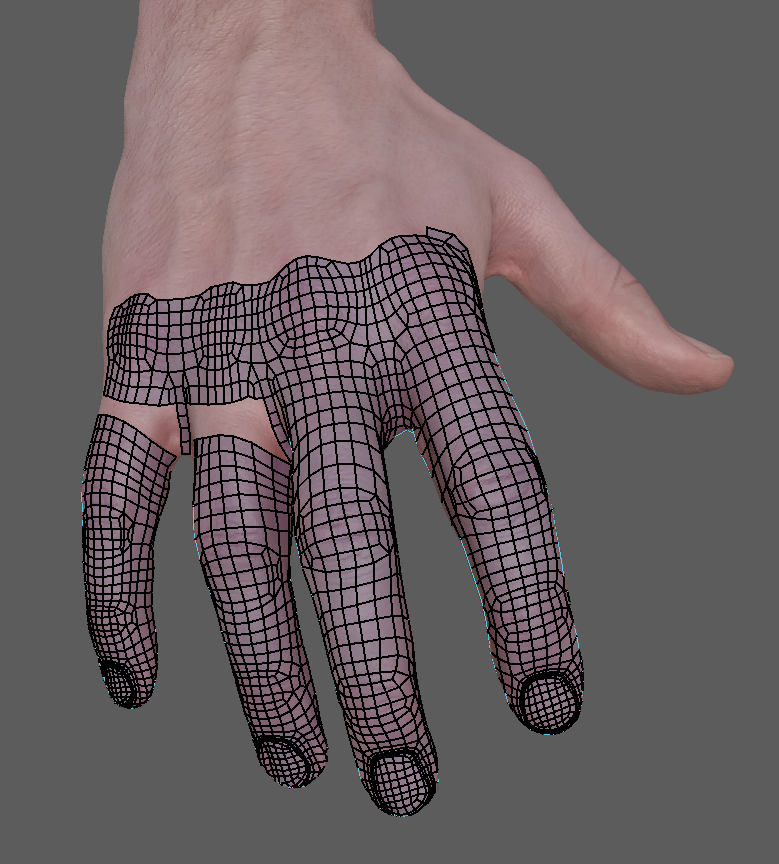
Much quicker that redrawing for all of the fingers!
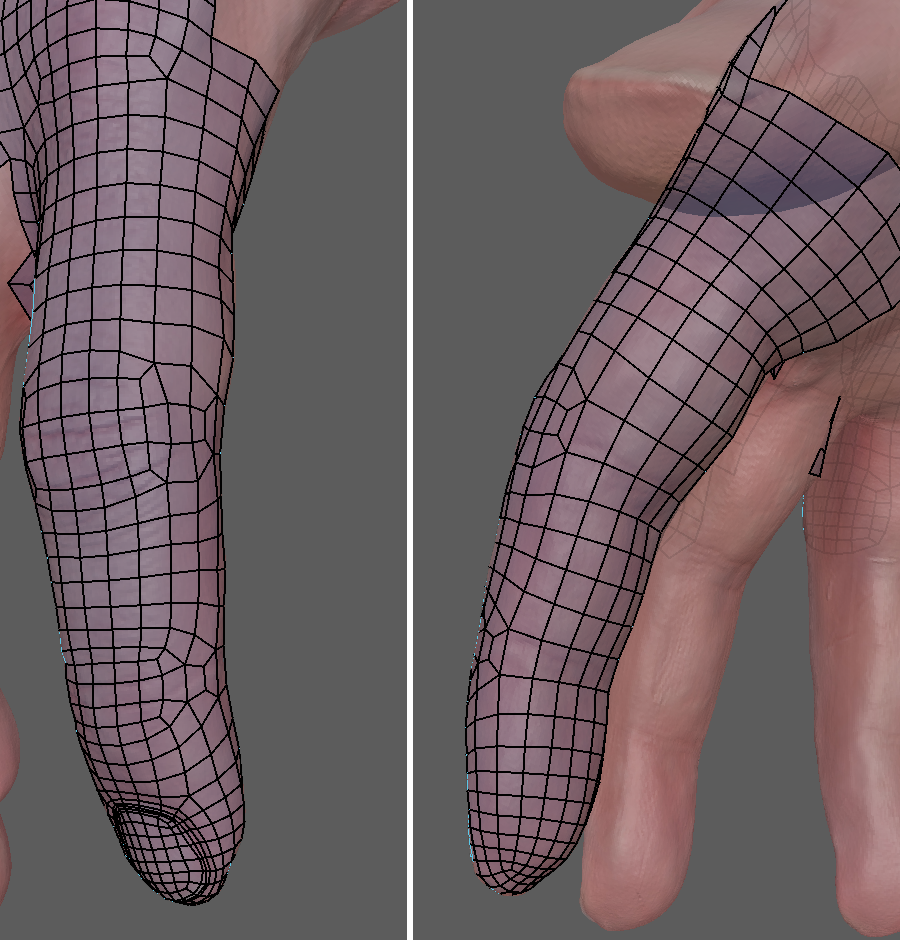
Having laid down topology for one finger:
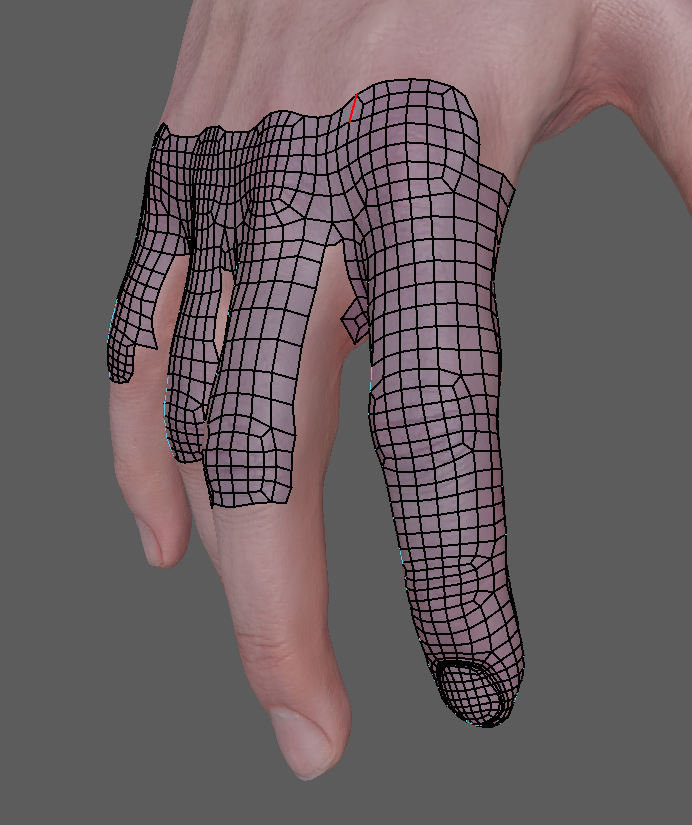
I feel good about the knuckles, but the inside of the finger needs work
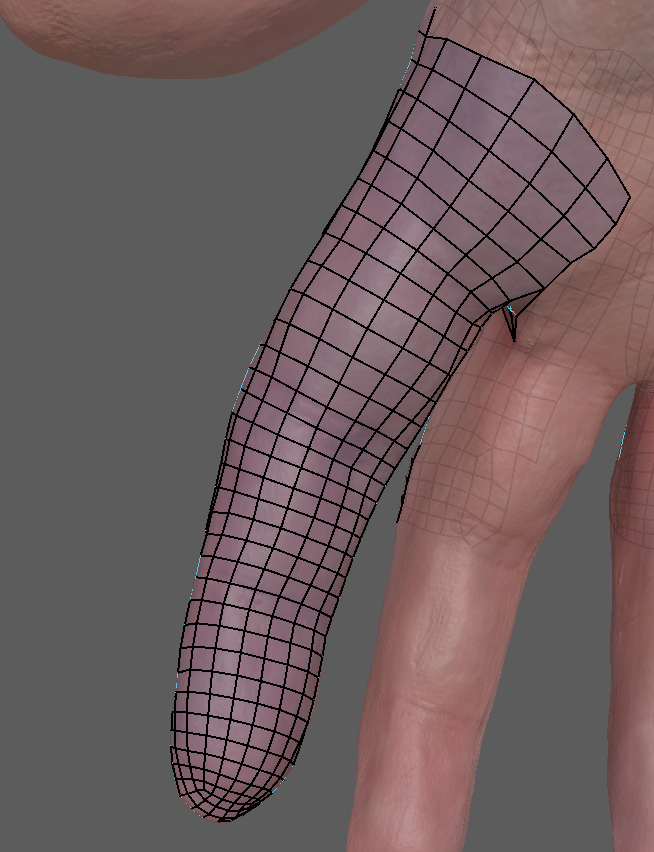
We shall see!
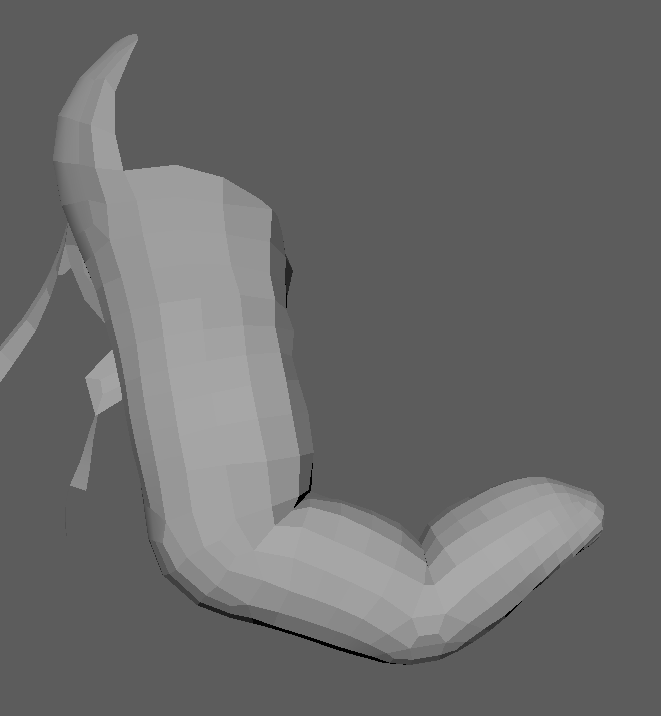
Then testing out the skinning:

When I play an FPS title, I find myself looking at the hands a lot. That’s to be expected!
More often than not I expect the hands are a skinned mesh, to a skeleton that closely represents the underlying bones of a hand.
But I can’t help but think, what would it look like if we did more?
Can we preserve volume better? Can underlying Tendons, Bones and Fat be represented?
So I’m starting a project to test these ideas.
I’ll test the effects of different topology, corrective blendshapes, additional helper bones.
What does it take to have hands that feel alive.
Starting with a freely available 3D Scan of a Human: https://ten24.info/sample-scan/
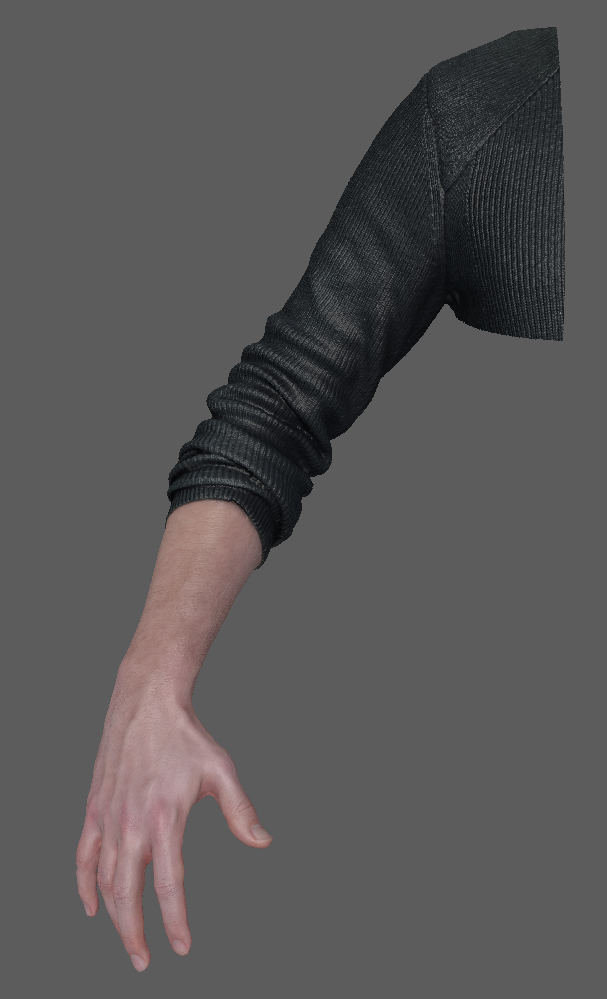
The first thing to do is isolate the arms:
And begin laying down topology:
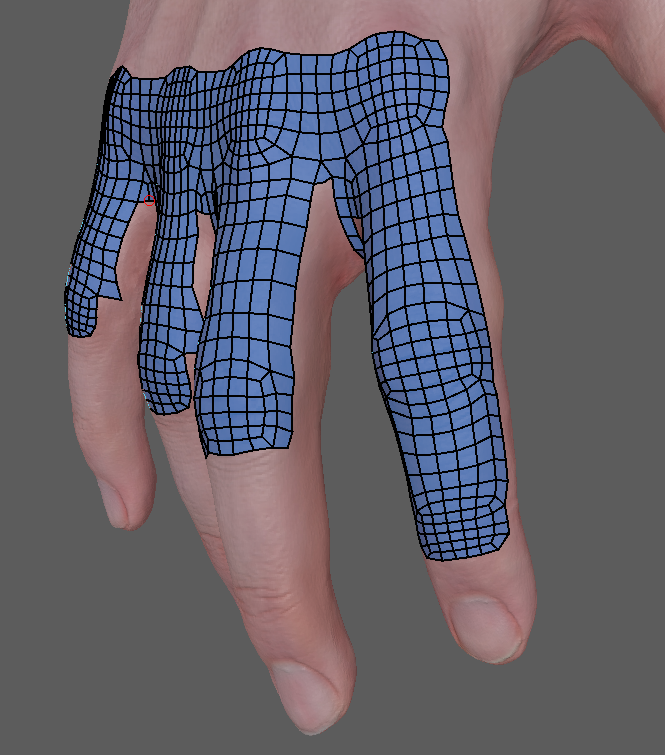
Wish me luck!
Over my holiday break I found some inspiration to create a little UE4 project.
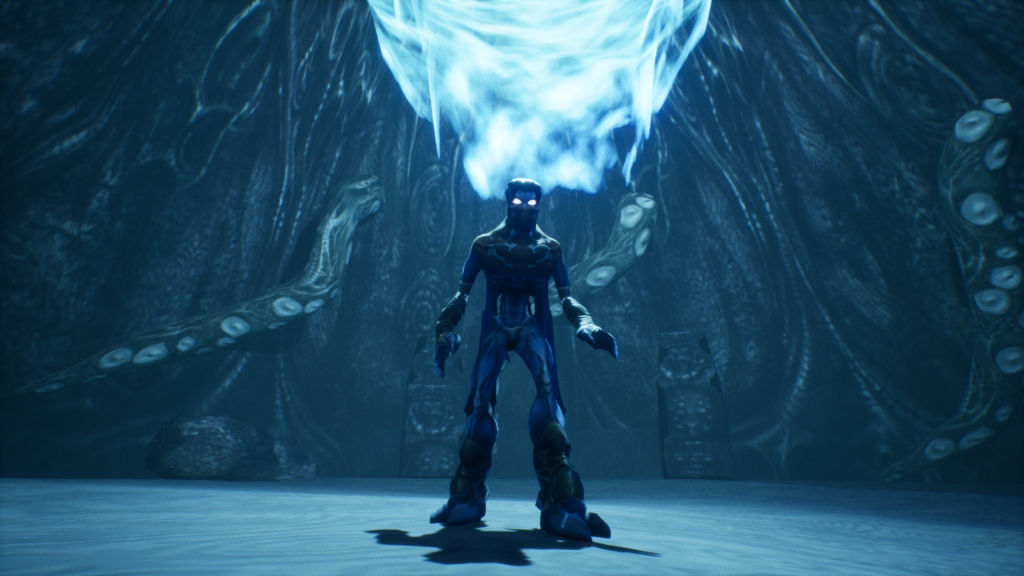
What if Legacy of Kain: Soul Reaver were remade today, in UE4?
Wanting to practice the Character workflows from Maya to UE4, I set about doing so.

Export processes in-between, and it’s off to Unreal Engine.
Screenshots for the project in real-time!
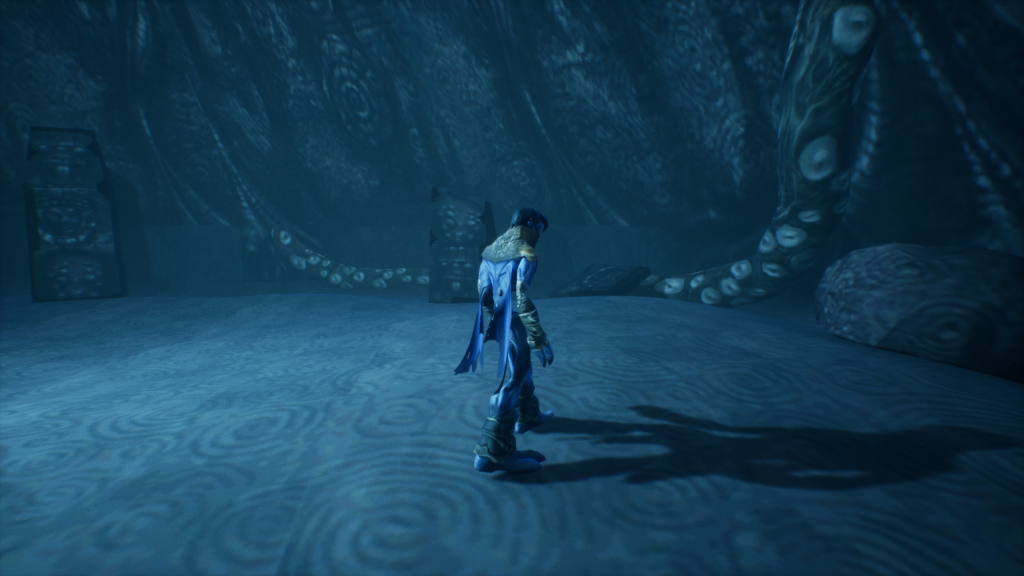
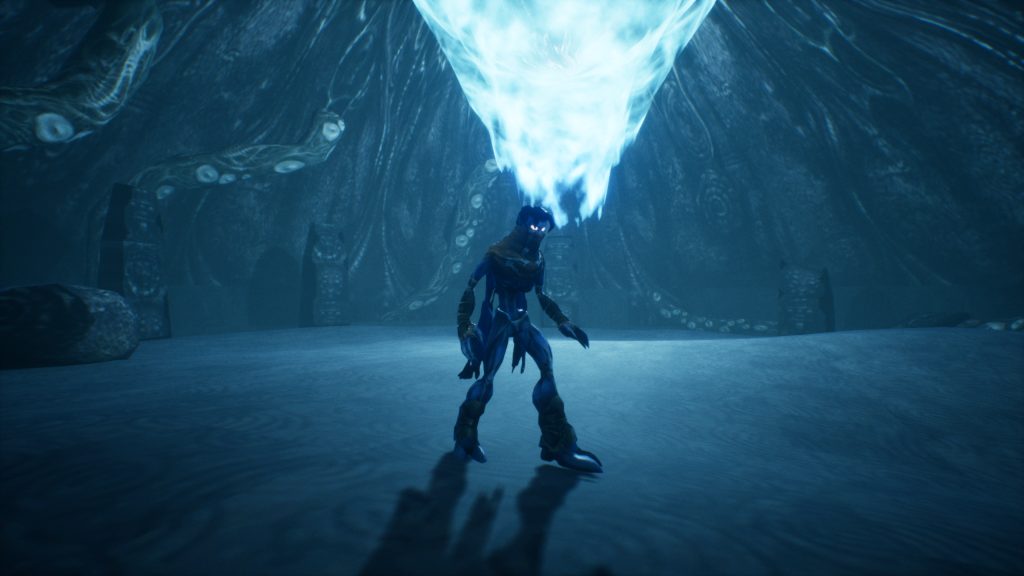

I recently found out that highend3d, which used to be Creative Crash, might be going away.
So I’ve created a Gumroad account: https://alrichardson.gumroad.com/
and started moving my tools there, more to come!
I’ve always had an interest in works by Hideo Kojima and recently I’ve become a bit obsessed with Death Stranding.
Having watched the trailers a number of times I was captivated by the little robot which sits atop this characters shoulder.
Initially captivated by its movement and just wanting to rig and animate it I set about blocking out the forms with cubes, then I thought, I’ve come this far, so why not actually model it up. So that is what I’m doing.
I’m currently UVing this mesh and once that is done I will texture, rig an animate it.
Occasionally an animator will be working away in their scene, when a new rig is published. Usually this isn’t an issue and the animator will reload the rig and have it available in their scene.
But every now and then, someone doesn’t have their coffee in the morning and instead will load in the new rig, unload the old, save their work and -shock!- their animation is gone! having saved their work they cannot see a way to retrieve it.
At this point I tend the hear “Aaall, my animation has broken!”
Talking to them and having a look at their scene it is apparent what has happened.
Upon loading a new rig, the animation is not connected to it, and when unloading the old rig the animCurve nodes are disconnected from the rig controls.
Fortunately the solution to this is simple.
1. find all animCurve nodes.
2. discern what control node it was connected to.
3. reconnect the animCurve node to the newly discerned control node.
I’ve attached some simple code below that demonstrates this process.
import maya.cmds as cmds

animCurves = cmds.ls(type='animCurve')
nameSpace = 'CH'

for animCurve in animCurves:
    attr = animCurve.split('_')[-1]
    control = (animCurve.replace(attr,''))[0:-1]
    try:
        if nameSpace:
            cmds.connectAttr('%s.output' % animCurve, '%s:%s.%s' % (nameSpace, control, attr))
        if not nameSpace:
            cmds.connectAttr('%s.output' % animCurve, '%s.%s' % (control, attr))
    except:
        print 'could not connect %s' % animCurve
My most recent demo reel is of my work at PlaySide Studios where I have been rigging characters and looking after artist tools and pipeline.
In this demo reel I am showing the final rendered mesh of the asset, the skeleton of the asset, to demonstrate the capabilities of the rig and its efficiencies. Then showing a wireframe overlay to display the deformation of the character clearly.